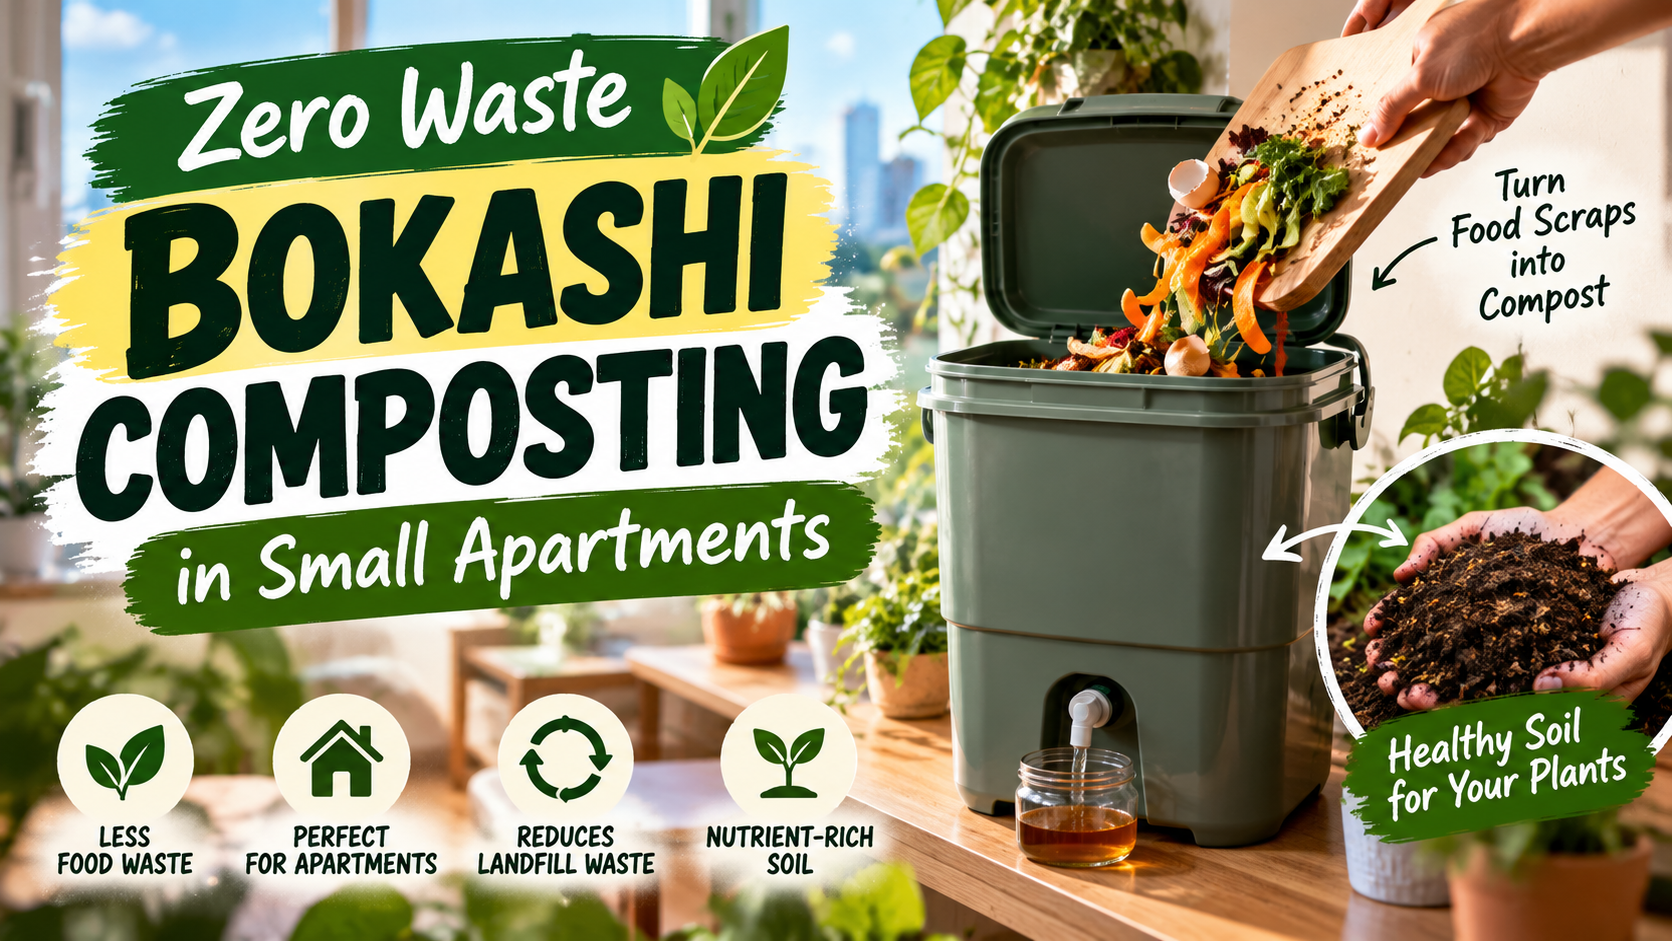
Bokashi Composting in Small Apartments: Easy Guide
SUSTAINABLE LIVING · SMALL-SPACE GARDENING
Zero-Waste Bokashi Composting in Small Apartments: A Beginner’s Guide
Learn how to ferment kitchen scraps in a compact, sealed bucket, keep odours under control, and turn the fermented material into something useful—even when you do not have a garden.
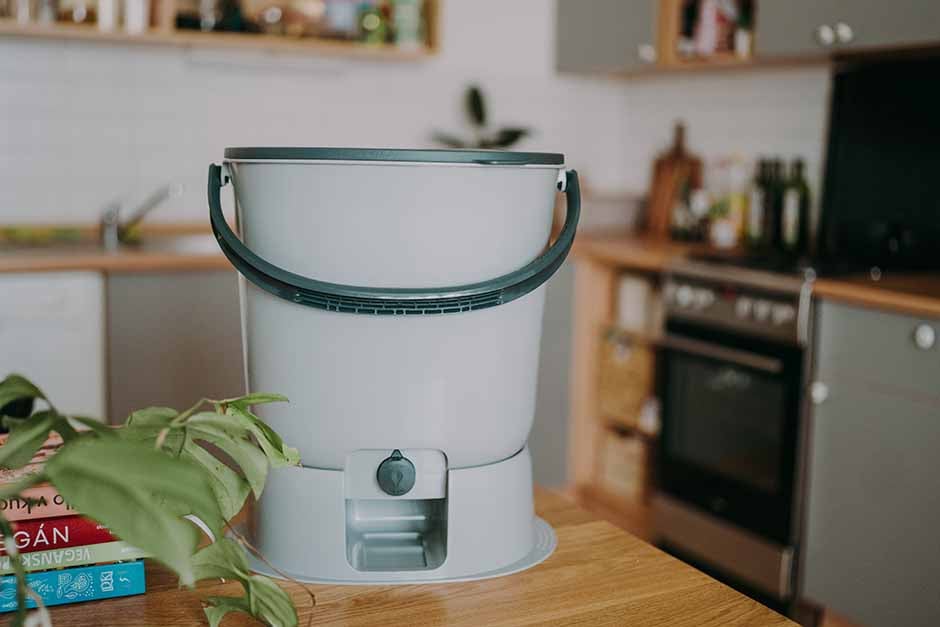
Living in an apartment does not mean you have to throw every kitchen scrap into the rubbish bin. If you want to reduce household food waste but have no yard, garden bed or room for a large compost pile, bokashi composting in small apartments is one option worth exploring.
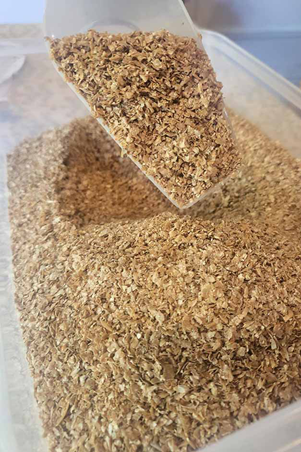
The system uses a tightly sealed bucket and a special microbial bran or activator to ferment food waste. With a little consistency, it can handle many everyday scraps in a small footprint and can be kept under a sink, in a utility cupboard or in another cool, convenient spot.
There is one catch: bokashi does not magically turn leftovers into finished, plant-ready compost inside the bucket. You need a plan for the next step—such as a community compost programme, a garden where the material can be buried, or a suitable container of soil where it can finish breaking down.
1. What Is Bokashi Composting?
Bokashi is a method of fermenting organic waste in an oxygen-limited container. Food scraps are layered with inoculated bran or a compatible bokashi activator, compressed to reduce air pockets, and sealed. The microbes ferment the material rather than allowing it to decompose in an open pile.
After the bucket is full, it is normally left sealed for about two weeks, although you should follow the instructions supplied with your particular system. The result is fermented pre-compost: it may still look recognisably like the original food, and it needs further breakdown in soil or a compost pile.
University of Saskatchewan and Royal Horticultural Society guidance both describe this extra finishing stage. See the University of Saskatchewan’s indoor bokashi guide and the RHS guide to recycling food waste with bokashi.
2. Why Bokashi Can Work Well in a Small Apartment
- Compact footprint: one sealed bucket can fit beneath a sink or in a utility cupboard.
- Low-odour when managed correctly: a tight lid, enough activator and regular liquid draining help prevent unwanted smells. A brief pickled or vinegary smell when opening the bucket can be normal.
- Accepts many cooked scraps: bokashi systems can generally handle a wider range of food than a basic open compost pile, including modest amounts of cooked food, dairy and meat. Follow your kit’s instructions.
- No need to turn a large pile: everyday maintenance usually involves adding scraps, applying bran, pressing down and resealing the lid.
- Can run throughout the year indoors: the bucket does not rely on outdoor garden space, though the finishing stage still needs a suitable solution.
Bokashi is not completely maintenance-free or automatically zero-waste. You use an activator, need to manage the by-product liquid, and must make sure the fermented scraps reach a suitable soil or composting system. It is most useful when you plan those steps in advance.
3. What You Need to Start
Airtight bucket
Use a purpose-made bokashi bin or a sturdy airtight container designed for the method. A drain tap and internal strainer can make liquid management easier.
Bokashi bran or activator
Choose an inoculated product intended for your system, and follow its directions for how much to use.
Kitchen scraps
Collect normal food leftovers and preparation scraps. Chop large pieces so they pack more tightly and ferment more consistently.
A finishing plan
Decide in advance where fermented scraps will finish breaking down: a compost pile, a community garden, or a suitable soil-filled container.
Small-space tip: If you produce a lot of food waste, two buckets are convenient: one can ferment while you fill the other. If you produce little waste, one appropriately sized bucket may be enough.
4. What Food Scraps Can Go in a Bokashi Bucket?
Bokashi can handle a broad range of kitchen waste, but a few items need special care. Use the table as a general guide and check the instructions for your specific bucket and activator.
| Usually suitable | Use caution or avoid |
|---|---|
| Fruit and vegetable peelings, cores and trimmings | Large quantities of liquid, soup or drinks |
| Small amounts of cooked rice, pasta, bread and leftovers | Large amounts of oil or grease |
| Coffee grounds, tea leaves and eggshells | Large bones that will not break down easily |
| Small amounts of meat, fish and dairy, if allowed by the system | Food that is already badly rotten or covered in extensive dark mould |
| Small scraps chopped into pieces for easier packing | Non-food items, packaging, chemicals or cleaning products |
Drain excess liquid from wet scraps where practical. Avoid pouring large volumes of liquid into the bucket, since too much moisture can contribute to unpleasant smells or poor fermentation. Large bones may remain intact for a long time, so leave them out unless your system’s guidance says otherwise.
5. How to Start Bokashi Composting in a Small Apartment
Choose a practical location
Place the bucket in a cool, shaded spot away from direct sunlight and heat. Under a sink or in a utility cupboard can work if it is convenient to access and the floor is protected from accidental spills.
Add a base layer
Follow your bucket’s instructions. Many systems start with a light sprinkling of bokashi bran or activator at the bottom.
Add food scraps in small layers
Cut bulky scraps into smaller pieces. Add a layer of waste, sprinkle the recommended amount of activator over it, then repeat as you add more scraps.
Press down and remove air pockets
Use the bucket’s press or a clean utensil to compact the scraps gently. Bokashi relies on an oxygen-limited environment, so do not leave the lid open longer than necessary.
Seal the lid tightly
Close the lid after every addition. Check that the rim is clean and the seal sits properly. A loose lid can allow air in and make the batch more likely to spoil.
Drain liquid regularly
If your bucket has a tap, check and drain it according to the manufacturer’s guidance—often every few days. Do not let a large amount of liquid accumulate in the bottom.
Ferment the full bucket
When the bucket is full, add the final layer of activator, close the lid and leave it sealed for around two weeks, or for the period stated by the kit instructions. Start filling a second bucket if you have one.
Finish the material in soil or compost
After fermentation, mix the material into a suitable compost pile or bury it in soil away from plant roots. Let it break down before planting directly into that area. The exact finishing time varies with conditions and the method used.
6. What If You Have No Garden or Balcony?
This is the most important practical question for apartment residents. A bokashi bucket can fit indoors, but once the contents ferment, you still need somewhere for them to finish breaking down. Choose one of these plans before starting:
Option A: Use a community garden or shared compost programme
Ask a nearby community garden, allotment, urban farm or composting group whether it accepts fermented food scraps. Explain that the material is bokashi-fermented and ask how they want it delivered. Do not assume every programme accepts meat, dairy or bokashi material.
Option B: Arrange a hand-off to someone with a garden
A friend, neighbour or family member with an outdoor compost pile or garden bed may be able to use the fermented material. Agree on a regular hand-off so a full bucket does not become a storage problem.
Option C: Finish it in a soil-filled container
If you have enough ventilation and space, some indoor methods mix the fermented scraps thoroughly into a large container of ordinary garden soil and cover them with several inches of soil. This is not the same as putting the scraps straight into a small houseplant pot. Use a container with enough volume, keep it covered, monitor moisture and odour, and allow several weeks for decomposition. If the container smells strongly or attracts pests, stop adding waste and reassess the setup.
Option D: Check local organics collection rules
Some municipalities or buildings operate separate food-waste collection. Ask whether they accept bokashi-fermented scraps before placing them in a collection bin. If none of these finishing routes is available, a different waste-reduction method may be more suitable for your home.
7. What Should You Do with Bokashi Liquid?
As food ferments, some bokashi buckets collect liquid at the bottom. It is commonly called bokashi tea, although its composition varies with the scraps and process. Drain it on the schedule recommended for your system.
Some makers recommend diluting this liquid for use on plants; others describe different uses. Do not apply it undiluted to plant roots. Follow the specific dilution guidance from your bucket or activator manufacturer, and test cautiously on a small area first. Keep it away from children and pets, and avoid splashing it into eyes or onto food-preparation surfaces.
If your system has no tap, follow its instructions for managing excess moisture. Do not assume the liquid is a fully balanced fertiliser or a substitute for finished compost.
8. How to Prevent Smells and Fix Common Problems
A sharp, pickled or vinegary smell
A mildly sour, fermented smell when opening the bucket can be normal. Close the lid again promptly and keep up with the system’s usual routine.
A rotten, sewage-like or unusually foul smell
This can indicate that the contents are rotting rather than fermenting correctly. Check the lid seal, reduce excess liquid, ensure the waste is pressed down, and use the correct amount of activator. If the batch is badly spoiled, follow the manufacturer’s disposal and cleaning instructions rather than using it around edible plants.
White mould or pale growth
White growth can appear during a successful fermentation. Check the overall smell and make sure the lid seals correctly; appearance alone cannot confirm that every batch is healthy.
Extensive green or black mould
Dark or coloured mould together with a foul smell can indicate a failed batch. Avoid handling it unnecessarily and follow the system maker’s guidance for safe disposal and cleaning before restarting.
Fruit flies or other pests
Keep the lid firmly shut, wipe food residue from the rim, and avoid leaving the bucket open while preparing scraps. Store the bin away from heat and direct sun.
The finished scraps still look like food
That is expected: fermentation does not fully break down the contents. Mix them into a compost pile or soil and allow the finishing stage to take place before planting in that area.
9. Bokashi vs. Traditional Composting vs. Worm Composting
| Feature | Bokashi | Traditional compost | Worm bin |
|---|---|---|---|
| Space | Small bucket indoors | Usually needs a pile or larger bin | Compact bin, but needs careful conditions |
| Cooked food, meat and dairy | Often accepted by the fermentation stage | Usually avoided in a basic open pile | Usually limited or avoided |
| Needs a second stage? | Yes, scraps need to finish breaking down | Material composts in the pile | Worms process suitable food over time |
| Main routine | Layer, add activator, press, seal and drain | Balance materials and manage airflow/moisture | Feed carefully and maintain worm-friendly conditions |
There is no single best method for every home. Bokashi is attractive if you want to ferment a broad range of food scraps in a sealed indoor bucket. Traditional composting may be simpler if you have outdoor space, while a worm bin can work well if your household scraps and maintenance habits suit vermicomposting.
10. A Simple Weekly Bokashi Routine for Apartment Living
- Whenever you add scraps: add the recommended activator, press gently, clean the rim and close the lid.
- Every few days: check for liquid and drain it according to your kit instructions.
- When the bucket is full: seal it and begin the fermentation period specified by the manufacturer.
- During fermentation: avoid opening the bucket unnecessarily and start filling your second bucket if available.
- After fermentation: transfer the material to the agreed finishing location and clean the bucket before reusing it.
The biggest success factor is not a complicated routine. It is keeping the bucket properly sealed and having a realistic destination for the fermented material before the first batch is ready.
Final Thoughts: Is Bokashi Worth It in a Small Apartment?
Bokashi composting can be a practical way to reduce the amount of kitchen waste sent to the rubbish bin when you have limited space. It is compact, can accept many cooked food scraps, and does not require you to manage a large outdoor pile.
However, it works best when you understand the whole process: fermentation first, then decomposition in soil or a composting system. Find a community garden or composting partner, check local collection rules, or prepare an appropriate soil container before you begin. With a reliable finishing plan and a well-sealed bucket, apartment composting can become a manageable part of everyday sustainable living.
Frequently Asked Questions
Does bokashi composting smell in an apartment?
A properly sealed and maintained bucket should have little smell while closed. A mild sour or pickled smell when opened can be normal. A foul or sewage-like smell may mean the batch has spoiled or the process needs troubleshooting.
Can I put meat and dairy in a bokashi bucket?
Many bokashi systems can ferment small amounts of meat, fish and dairy, unlike a basic open compost pile. Follow the instructions for your particular bucket and activator, and ensure the material has a suitable finishing destination.
How long does bokashi take?
A full bucket is commonly left sealed for around two weeks, but the manufacturer’s instructions should take priority. After that, the contents need additional time in soil or compost to break down fully; conditions can make the finishing stage take several more weeks.
Is bokashi material ready to use on houseplants after two weeks?
No. Fermentation produces pre-compost, not finished compost. Do not mix fresh fermented scraps directly into a small houseplant pot or place them against plant roots. Finish the material in a suitable volume of soil or compost first.
Can I do bokashi if I do not have a balcony or garden?
Yes, you can ferment scraps indoors, but you still need a plan for the next stage. Look for a community compost programme or a garden owner who accepts bokashi, or investigate a suitable large soil container. If you cannot arrange a finishing route, another food-waste option may work better.
What is the white mould in my bokashi bucket?
White mould can occur during successful fermentation. Check the smell, the seal and your kit instructions rather than judging the batch by colour alone. Extensive green or black mould, especially with a foul smell, is a reason to be cautious and follow the manufacturer’s troubleshooting guidance.
Further Reading and Sources
This article draws on practical guidance from university extension, horticultural and municipal sources. Consult your own system’s instructions for product-specific quantities and handling directions.