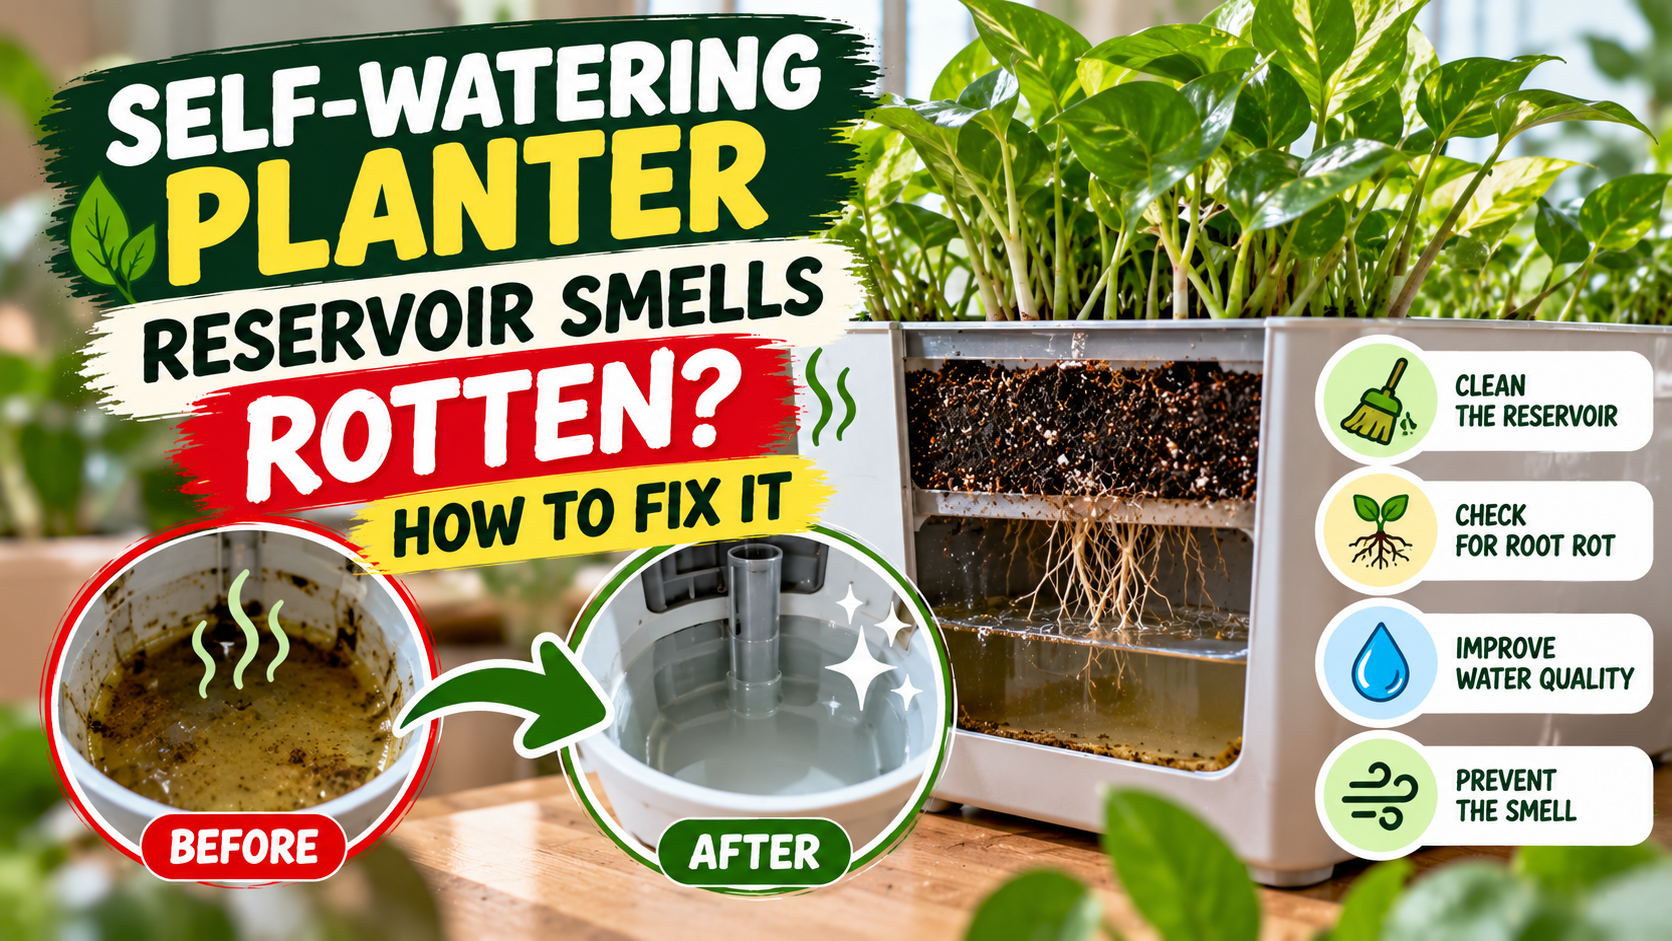
Self-Watering Planter Reservoir Smells Rotten? Fix It Fast
Houseplant troubleshooting · Indoor gardening
Self-Watering Planter Reservoir Smells Rotten? How to Fix It
A rotten or sour smell from a self-watering planter usually means water has been sitting with organic residue, the reservoir needs cleaning, or the potting mix is staying too wet. The quickest fix is to empty and clean the reservoir, then check that the roots and growing mix are healthy.

What to Do First: A Same-Day Fix
Do not cover the smell with fragrance or simply add more water. Find the source first. Water reservoirs in self-watering containers should be checked regularly and cleaned periodically; standing water and accumulated residue can encourage algae and other unwanted growth. Virginia Cooperative Extension explains the maintenance needs of self-watering containers.
- Stop topping up the reservoir.
Check the water level and the moisture in the actual root zone. If the potting mix is saturated, adding more water can worsen the problem. If the plant is a moisture-loving species, do not leave it dry for an extended period; focus on removing stagnant water and restoring a healthy moisture balance. - Drain the old water safely.
Use the drain plug or reservoir access provided by the planter. If the inner pot needs to be lifted out, support the plant and avoid spilling water onto floors or electrical equipment. Remove dead leaves, roots or other debris from the reservoir. - Scrub the empty reservoir.
Use warm water and a small amount of mild dish soap with a soft brush or cloth. Clean accessible corners, the fill tube, float, lid and removable parts. Rinse thoroughly so no soap remains. Follow the manufacturer’s instructions if the reservoir uses special materials or components. - Check the wick and overflow.
Make sure the overflow opening is clear and the wick is not clogged with sludge or mineral deposits. A blocked overflow or poorly designed water level can leave the lower growing medium continuously saturated. - Inspect the potting mix and roots.
Smell the mix separately from the reservoir. If it remains waterlogged, let moisture levels recover according to the plant’s needs. If roots are soft, dark and mushy, remove damaged tissue with clean tools and consider repotting into fresh, airy potting mix. - Refill with fresh water only when appropriate.
Follow the planter’s water-level marks and your plant’s watering needs. Do not assume every plant should sit above a permanently full reservoir. Many succulents and other drought-tolerant plants are poor matches for constantly moist systems.
Why Does a Self-Watering Planter Reservoir Smell Rotten?
1. Old water and organic residue
Small pieces of potting mix, fallen leaves, dead roots or spilled fertilizer can accumulate in the reservoir. As this material breaks down, the water can develop an unpleasant smell. Emptying and scrubbing the reservoir removes the residue instead of masking the odour.
2. The potting mix is too wet
Self-watering planters are designed to supply moisture gradually, but a dense mix, an unsuitable plant or continuous refilling may keep too much of the root zone wet. Roots need both water and oxygen. A sour smell from the soil, yellowing leaves and declining growth can indicate poor root conditions rather than a reservoir-only problem.
3. A blocked overflow or poorly functioning wick
If excess water cannot escape, or the wick keeps supplying more moisture than the plant can use, water may remain in the system too long. Check that the overflow is clear and that the wick or water-level indicator moves as expected.
4. Fertilizer residue or decaying plant material
Strong fertilizer solutions, accumulated salts and organic debris can leave residue inside a reservoir. Avoid storing concentrated fertilizer in the reservoir unless the planter and fertilizer instructions specifically recommend it. Remove fallen leaves and clean the system between planting cycles.

How to Tell If the Plant Has Root Rot
A smelly reservoir does not automatically mean the plant has root rot. Check the whole system before deciding whether the plant needs repotting.
| What you notice | What it may mean | What to do |
|---|---|---|
| Reservoir smells, but leaves and roots look healthy | Stagnant water or residue may be the main issue | Drain, scrub, rinse and refill with fresh water when needed |
| Soil smells sour and stays soggy | Too much moisture or poor aeration | Pause refilling, check the mix and overflow, and reassess watering |
| Roots are firm and pale tan, cream or white | Roots may still be healthy; colour varies by species and growing medium | Remove debris and correct reservoir maintenance |
| Roots are soft, slimy, dark and easily break apart | Possible root rot or root tissue decay | Trim damaged roots with clean tools and repot if needed |
| Leaves yellow or wilt while the mix remains wet | Roots may be stressed and unable to take up water properly | Inspect moisture and roots rather than adding more water automatically |
How to Stop the Rotten Smell Coming Back
- Clean the reservoir periodically. Empty and rinse it on a routine that suits the planter, plant and water quality. Clean sooner if water clouds, slime builds up or odour develops.
- Keep debris out. Remove fallen leaves and avoid allowing potting mix to spill into the water chamber.
- Use an airy potting mix. Dense garden soil can compact in containers and limit air around roots. Use a quality mix suited to the plant and planter design.
- Check the overflow opening. Outdoor planters can collect rainwater. Make sure excess water can drain as intended.
- Match the planter to the plant. Plants that prefer drying between waterings, including many cacti and succulents, often do not suit a continuously moist reservoir.
- Do not rely on a calendar alone. Check the water gauge, feel the mix and watch the plant. Water use changes with plant size, light, temperature and season.
- Flush fertilizer salts when the design permits. Follow the planter and fertilizer instructions; allow runoff to drain properly and never leave the plant sitting in a dirty saucer.
The University of Maryland Extension guide to self-watering containers explains how these systems use a reservoir, a growing-medium platform and an overflow arrangement. Virginia Cooperative Extension also recommends periodic reservoir cleaning to help prevent algae and waterborne problems.
Quick checklist
Drain the old water. Scrub the empty reservoir with mild dish soap. Rinse thoroughly. Check the overflow, wick, soil moisture and roots. Refill only when the plant and system need it.
Frequently Asked Questions
Is it normal for a self-watering planter reservoir to smell?
A slight earthy smell may come from the growing medium, but a strong rotten or sewage-like smell is a reason to empty and inspect the reservoir. Organic residue, stagnant water or waterlogged soil may be involved.
Can I add vinegar or bleach to the reservoir to remove the smell?
Do not add cleaning chemicals to a reservoir connected to live roots. Empty it and scrub with mild dish soap first. If a stronger sanitizer is required, follow the manufacturer’s approved procedure, keep it away from the plant and rinse as directed. Never mix cleaning products.
Should I let a self-watering pot run completely dry?
It depends on the plant and planter design. Some plants prefer consistent moisture, while drought-tolerant plants need a drier root zone. Use the manufacturer’s instructions and check the soil rather than following one rule for every species.
Why does the reservoir smell again after I clean it?
The source may be inside the growing mix or on the wick, or the reservoir may be staying warm and stagnant. Check for decaying roots, trapped debris, blocked overflow, persistent saturation or fertilizer buildup. Clean removable parts and correct the underlying moisture problem.
Can a smelly reservoir harm my houseplant?
The smell itself does not diagnose a specific disease, but it can indicate conditions that stress roots. If the plant is wilting despite wet soil, yellowing, or has soft, dark roots, investigate promptly and repot if necessary.
Sources and Further Reading
- Virginia Cooperative Extension — Properly Watering Container Houseplants
- University of Maryland Extension — Self-Watering Containers
- Holman Industries — Self-Watering Planter Pot FAQ
Final thought: A self-watering planter should make plant care easier, not keep roots permanently waterlogged. Remove stagnant water, clean the reservoir, and fix the moisture or drainage issue that caused the smell.